Página Secundaria
Raspberry Pi

Introducción
La Raspberry Pi es un ordenador del tamaño de una tarjeta de crédito que se conecta con tú televisión y un teclado. Es un pequeño ordenador muy capaz que puede utilizarse en numerosos proyectos electrónicos y puede desempeñar muchas de las funciones que puede desempeñar tú propio ordenador de mesa, documentos escritos, presentaciones, búsquedas por internet y para jugar a videojuegos. También puede reproducir vídeos de alta definición. Está diseñada para ser de fácil adquisición por unos 36€ con el objetivo introducir el mundo de la programación en las mentes de los más jóvenes y los ya adultos.
Modelos
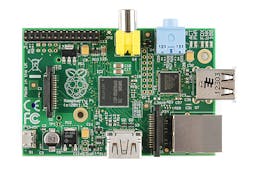
Raspberry Pi 1
Model B
Fecha de salida :Abril - junio de 2012
Precio: US$35
SOC: Broadcom BCM2835
CPU: 700 Mhz single-core ARM1176JZF-S
GPU: Dual Core VideoCore IV Multimedia Co-Processor
RAM: 512 mb
Puertos USB: 2
Tamaño: 85.60mm x 56.5mm
GPIO: 8 x GPIO
Amperaje: 700 mA (3.5W)
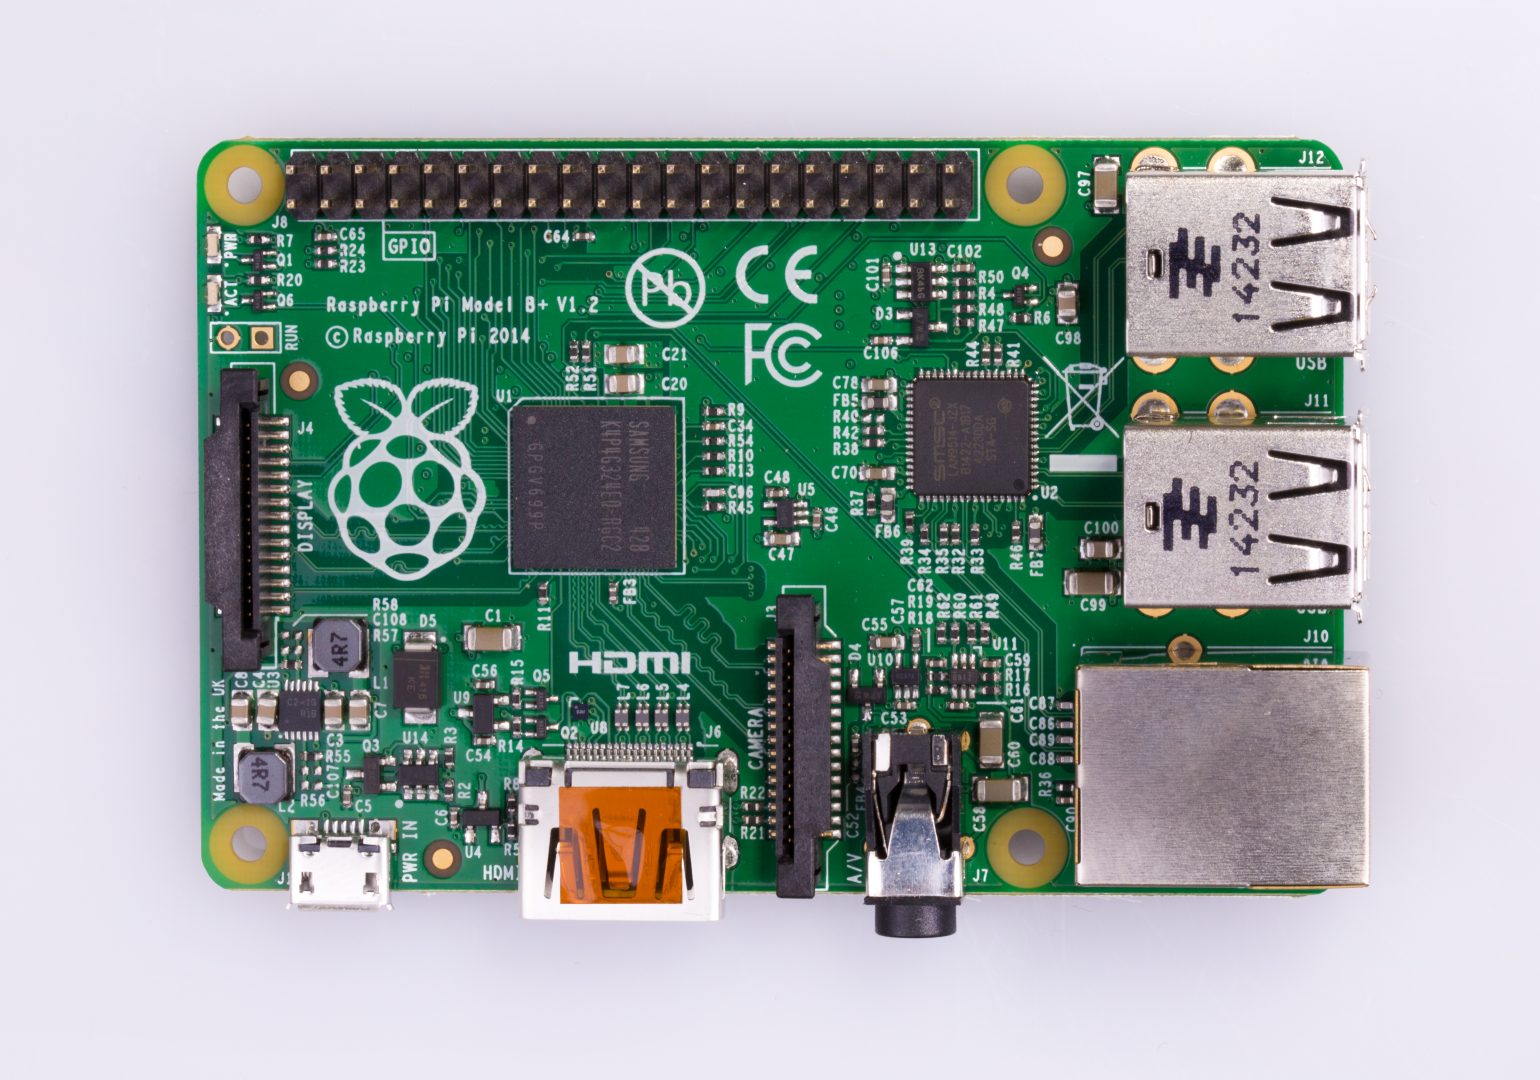
Model B+
Fecha de salida: Julio 2014
Precio: US$25
SOC: Broadcom BCM2835
CPU: 700 Mhz Single-core ARM1176JZF-S
GPU: Dual Core VideoCore IV Multimedia Co-Processor
RAM: 512 mb
Puertos USB: 4
Tamaño: 85,60mm x 56.5mm
GPIO:17 x GPIO
Amperaje: 600mA (3.0W)
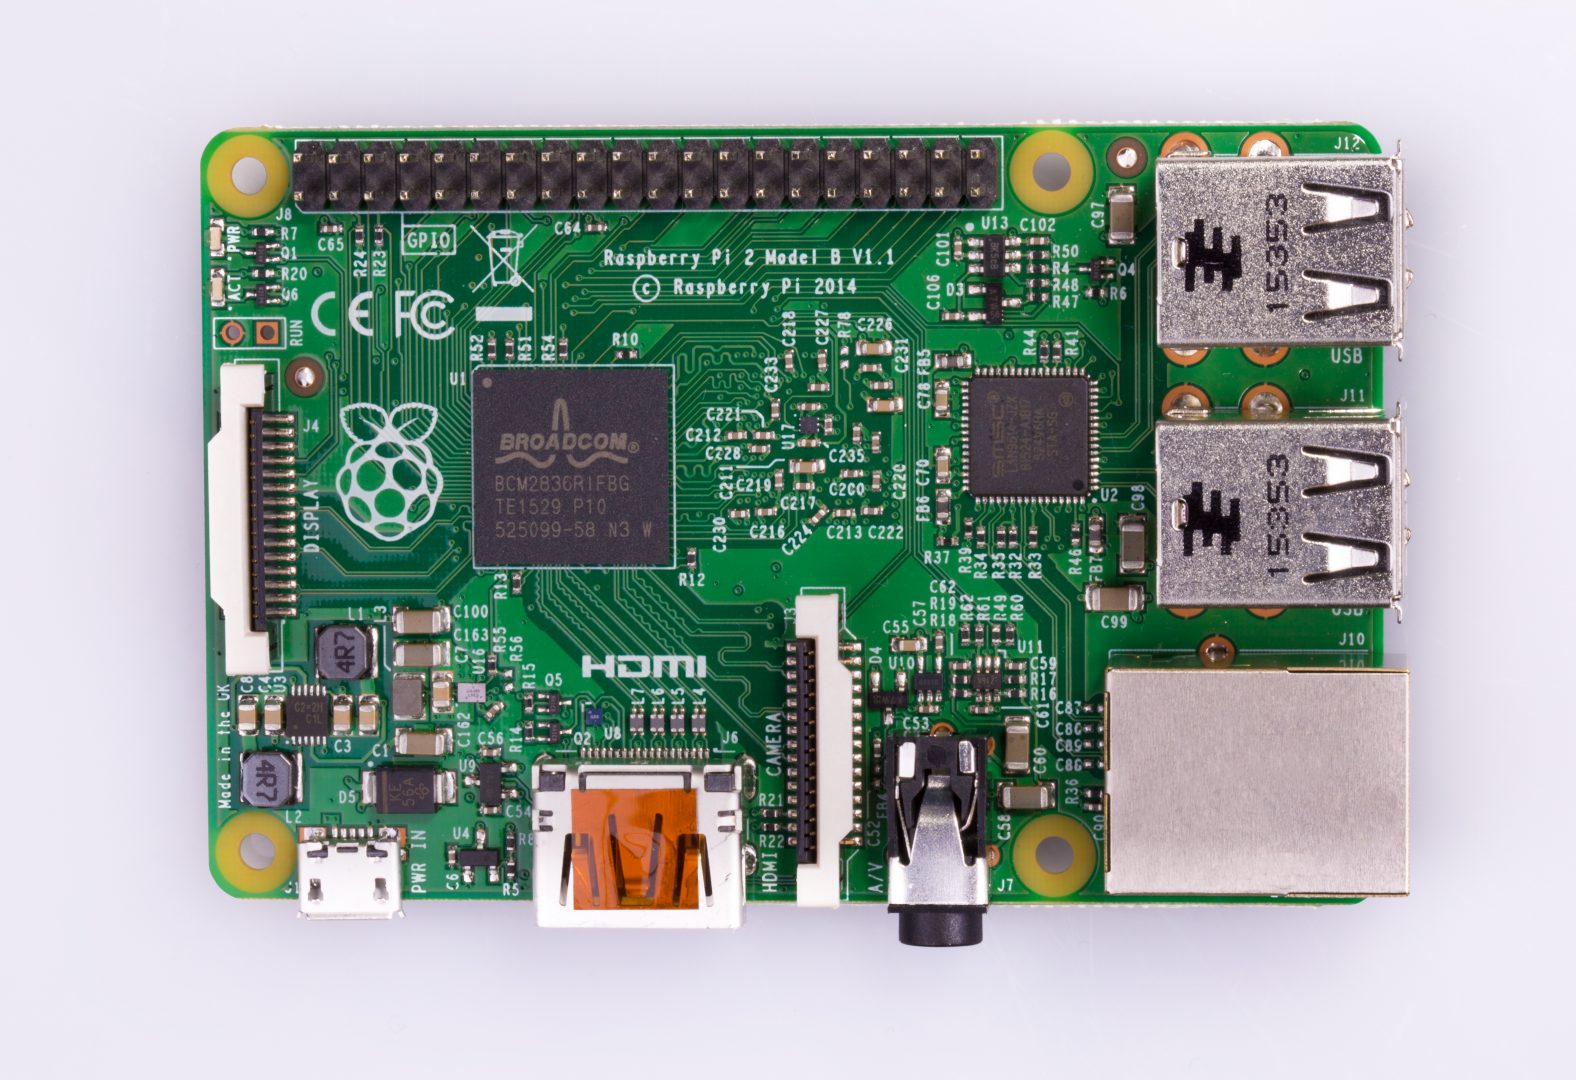
Raspberry Pi 2
Model B
Fecha de salida: Febrero de 2015
Precio: US$35
SOC: Broadcom BCM2836
CPU: 900 Mhz 32-bit quad-core ARM Cortex-A7
GPU: Dual Core VideoCore IV Multimedia Co-Processor
RAM: 1gb
Puertos USB: 4
Tamaño: 85.60mm x 56.5mm
GPIO: 17 x GPIO
Amperaje: 800mA (4.0W)
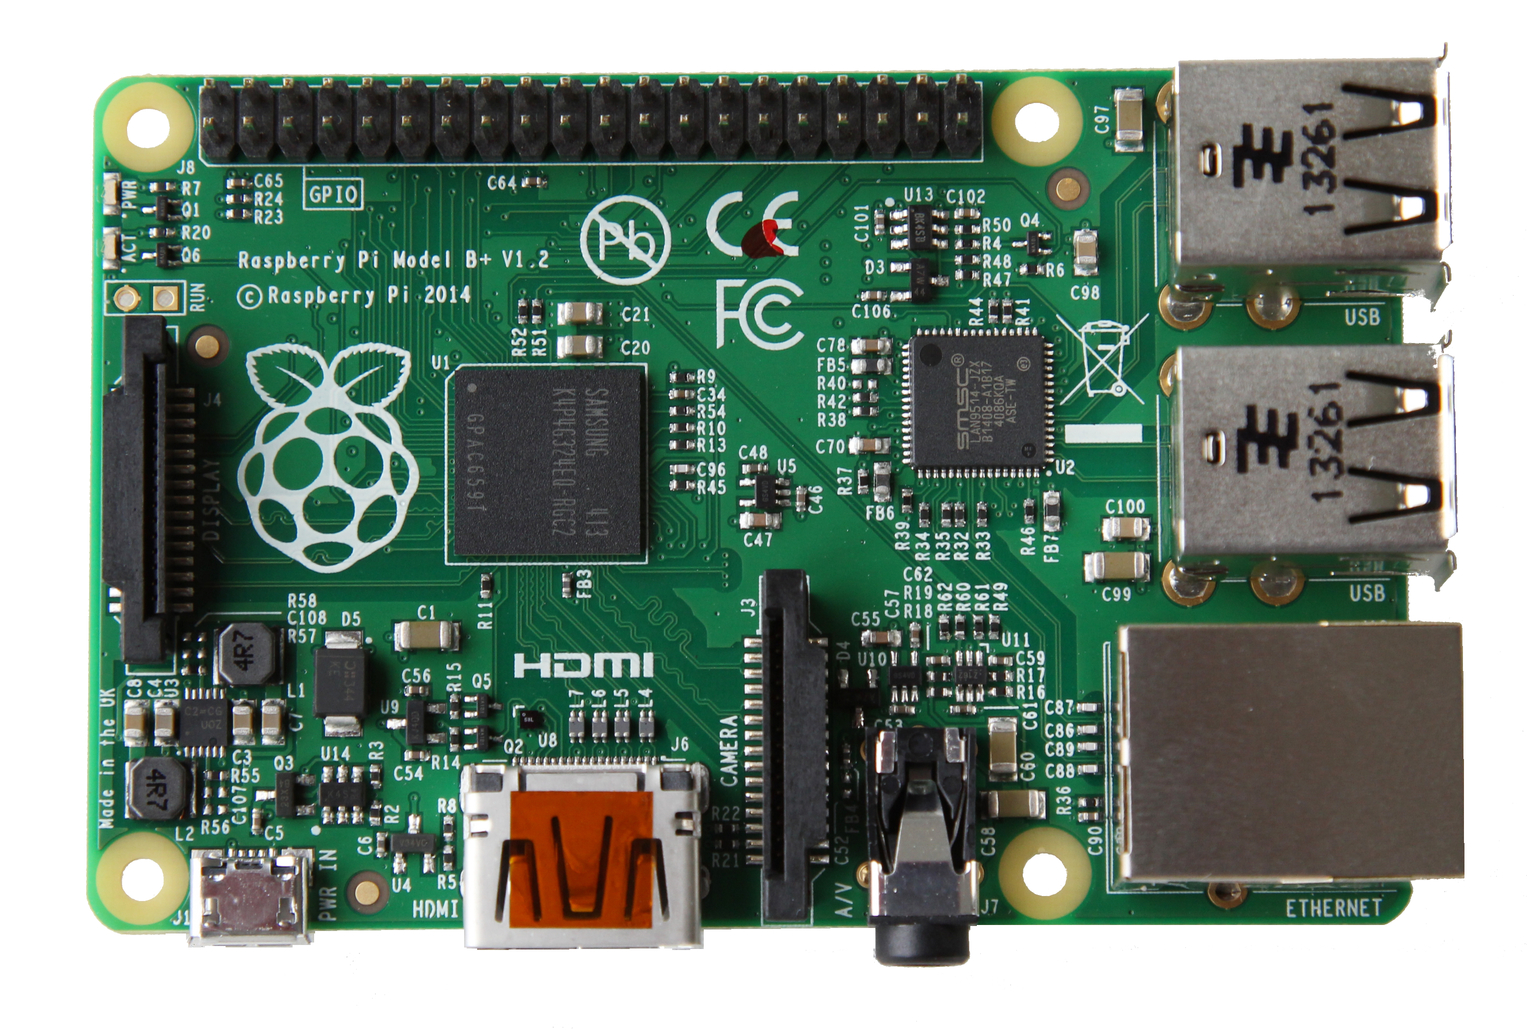
Model B+
Fecha de salida: Octubre de 2016
Precio: US$35
SOC: Broadcom BCM2837
CPU: 900 Mhz 64-bit quad-core ARM Cortex-A53
GPU: Dual Core VideoCore IV Multimedia Co-Processor
RAM: 1 gb
Puertos USB: 4
Tamaño: 85,60mm x 56.5mm
GPIO: 17 x GPIO
Amperaje: 800mA (4.0W)

Raspberry Pi 3
Model B
Fecha de salida: Febrero del 2016
Precio: US$35
SOC: Broadcom BCM2837
CPU: 1.2 Ghz 64-bit quad-core ARM Cortex-A53
GPU: Dual Core VideoCore IV Multimedia Co-Processor
RAM: 1 gb
Puertos USB: 4
Tamaño: 85.60mm x 56.5mm
GPIO: 17 x GPIO
Amperaje: 800mA (4.0W)
Proyectos
- Simple LED on/off

Requiere:
- Raspberry Pi
- LED
- Macho-hembra cables
- 330 ohm resistencia
Código:
Crear un nuevo archivo de texto "LEDsimple.py"
Escribe el siguiente código:
import RPi.GPIO as GPIO
import time
GPIO.setmode(GPIO.BCM)
GPIO.setwarnings(false)
GPIO.setup(18,GPIO.HIGH)
print"LED on"
GPIO.output(1)
time sleep(1)
print"LED apagado"
GPIO.output(18,GPIO.LOW)
Escribe sudo python LED simpl.py para que comience a ejecutar el código.
- Sensor de ultrasonidos
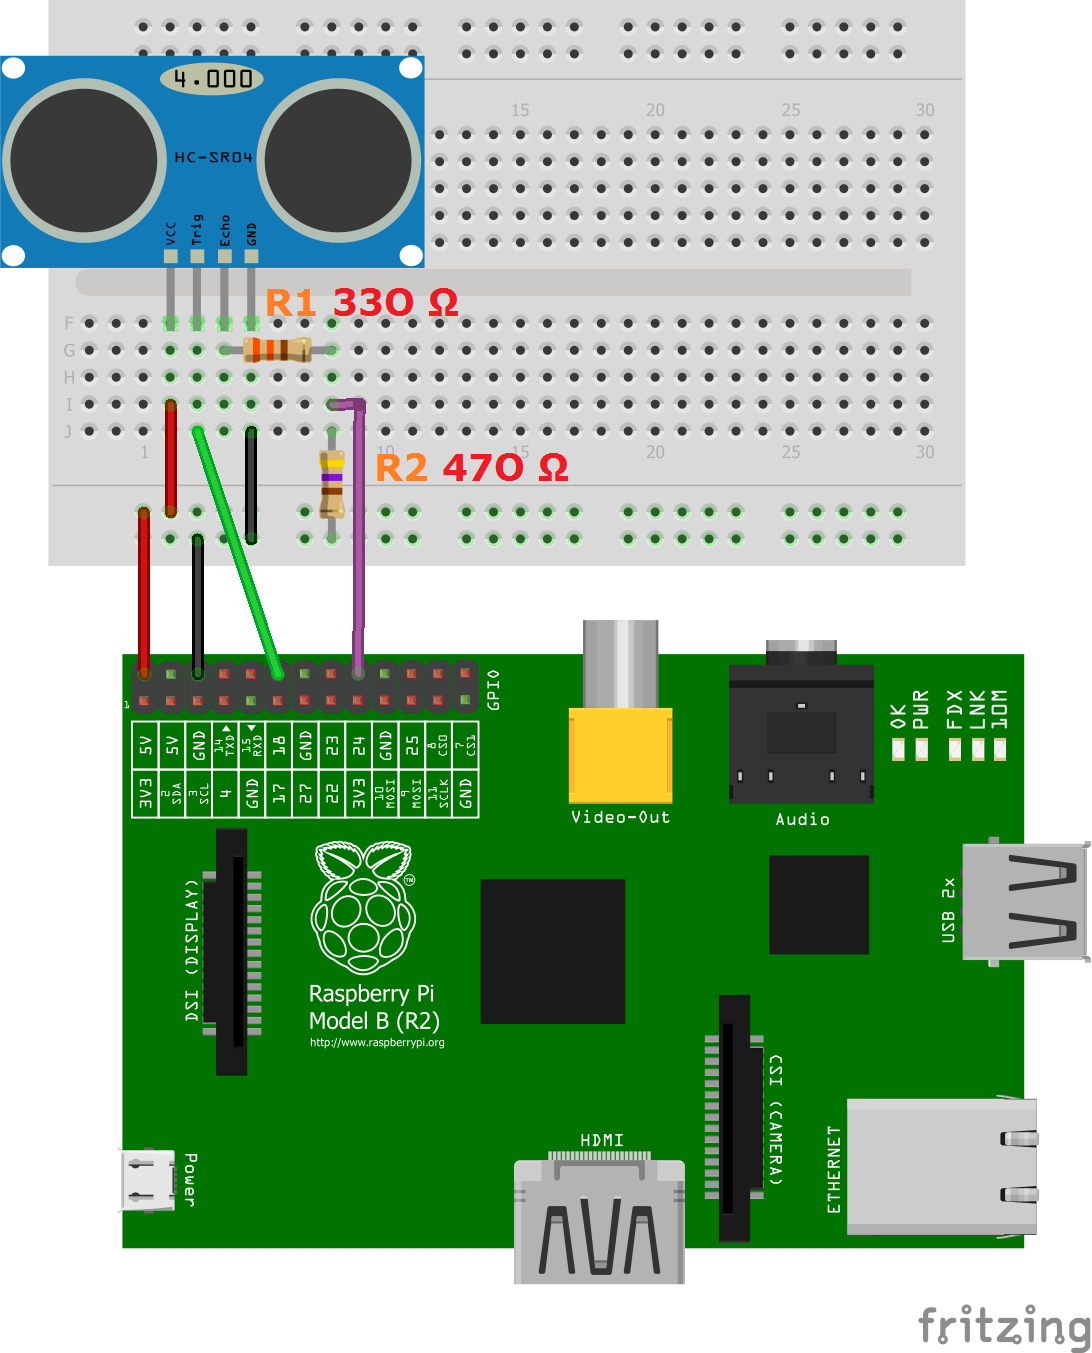
Requiere:
- Raspberry Pi
- HC-SRO4 Módulo Ultrasónico
- Resistencias(330 ohms y 470 ohms)
- Macho-hembra cables
Código:
Crear un nuevo archivo de texto "ultrasonic.py"
Escribe el siguiente código:
#libraries
import RPi.GPIO as GPIO
import time
GPIO.setmode(GPIO.BCM)
GPIO_TRIGGER = 18
GPIO_ECHO = 24
GPIO.setup(GPIO_TRIGGER,GPIO.OUT)
GPIO.setup(GPIO_ECHO,GPIO.IN)
delf distance():
GPIO.output(GPIO_TRIGGER, True)
time.sleep(0.00001)
GPIO.output(GPIO_TRIGGER, False)
StartTime=time.time()
StopTime=time.time()
while GPIO.input(GPIO_ECHO)==1:
StopTime=time.time()
TimeElapsed=StopTime-StartTime
distance=(TimeElapsed*34300) / 2
return distance
if_name_=="_main_":
try:
while True
dist = distance()
print("Distancia medida = %.1f cm" % dist)
time.sleep(1)
GPIO.cleanup()
Escribe sudo python ultrasonic.py para que comience a ejecutar el código.
- Motor DC

Requiere:
- Raspberry Pi
- Motor DC
- L293 Motor driver
- Cables
- 4*AA pilas
Código:
Crear un nuevo archivo de texto "dcmotor.py"
Escribe el siguiente código:
Import RPi.GPIO as GPIO from time import sleep
GPIO.setmode(GPIO.BOARD)
Motor1A = 16
Motor1B = 18
Motor1E = 22
GPIO.setup(Motor1A,GPIO.OUT)
GPIO.setup(Motor1B,GPIO.OUT)
GPIO.setup(Motor1E,GPIO.OUT)
print "Hacia adelante"
GPIO.output(Motor1A,GPIO.HIGH)
GPIO.output(Motor1B,GPIO.LOW)
GPIO.output(Motor1E,GPIO.HIGH)
sleep(2)
print "Hacia atrás"
GPIO.output(Motor1A,GPIO.LOW)
GPIO.output(Motor1B,GPIO.HIGH)
GPIO.output(Motor1E,GPIO.HIGH)
sleep(2)
print "Parado"
GPIO.output (Motor1E,GPIO.LOW)
GPIO.cleanup()
Escribe sudo python dcmotor.py para que comience a ejecutar el código.
- Servo Motor

Requiere:
- Raspberry Pi
- Servo Motor
- Breadboard
- 1K ohm resistencias
- Cables
- 5V 1A or 4.8V pack de pilas.
Código:
Crear un nuevo archivo de texto "servomotor.py"
Escribe el siguiente código:
import RPi.GPIO as GPIO
from time import sleep
GPIO.setmode(GPIO.BOARD)
GPIO.setup(03, GPIO.OUT)
GPIO.setup(03, GPIO.OUT)
pwm.start(0)
def SetAngle(angle):
duty = angle / 18 + 2
GPIO.output(03, True)
pwm.ChangeDutyCycle(duty)
sleep(1)
GPIO.output(03, False)
pwm.ChangeDutyCycle(0)
SetAngle(90)
pwm.stop()
GPIO.cleanup()
Escribe sudo python dcmotor.py para que comience a ejecutar el código.
- LED RGB

Requiere:
- Raspberry Pi
- Resistencias (220 y 330 Ohms)
- LED RGB
Código:
import sys, time
import RPi.GPIO as GPIO
redPin = 11
greenPin = 13
bluePin = 15
def blink(pin):
GPIO.setmode(GPIO.BOARD)
GPIO.output(pin, GPIO.HIGH)
def turnOff(pin):
GPIO.setmode(GPIO.BOARD)
GPIO.setup(pin, GPIO.OUT)
GPIO.output(pin, GPIO.LOW)
def redOn():
blink(redPin)
def greenOn():
blink(greenPin)
def blueOn():
blink(bluePin)
def yellowOn():
blink(redPin)
blink(greenPin)
def cyanOn():
blink(greenPin)
blink(bluePin)
def magentaOn():
blink(redPin)
blink(bluePin)
def whiteOn():
blink(redPin)
blink(greenPin)
blink(bluePin)
def redOff():
turnOff(redPin)
def greenOff():
turnOff(greenPin)
def blueOff():
turnOff(bluePin)
def yellowOff():
turnOff(redPin)
turnOff(greenPin)
def cyanOff():
turnOff(greenPin)
turnOff(bluePin)
def magentaOff():
turnOff(redPin)
turnOff(bluePin)
def whiteOff():
turnOff(redPin)
turnOff(greenPin)
turnOff(bluePin)
def main():
while True:
cmd = raw_input("Choose an option:")
if cmd == "red on":
redOn()
elif cmd == "red off":
redOff()
elif cmd == "green on":
greenOn()
elif cmd == "green off"
greenOff()
elif cmd == "blue on":
blueOn()
elif cmd == "blue off":
blueOff()
elif cmd == "yellow on":
yellowOn()
elif cmd == "yellow off":
yellowOff()
elif cmd == "cyan on":
cyanOn()
elif cmd == "cyan off":
cyanOff()
elif cmd == "magenta on":
magentaOn()
elif cmd == "magenta off":
magentaOff()
elif cmd == "white on":
whiteOn()
elif cmd == "white off":
whiteOff()
else:
print("Not a valid command.")
return
main()
Escribe sudo python buzzer.py para que comience a ejecutar el código.


Comentarios
Publicar un comentario